


This Weeks Guest Blogger is Trina from Baby Jane's.
She has some really super cute tutorials
you should go check out.
The tutorial this week on her blog is a
Hand-Blown Easter Egg Tutorial
I'm really excited to have her today on the Glitter Blog!
Thank you Trina!
xoxo
Hi! My name's Trina from the blog Baby Jayne's. I started making and sometimes selling stuff when my first baby was born, hence the name of my blog. I now have 3 kids, ages 6, 3, and 4 weeks old! I love being a stay-at-home wife and mommy. In my 'spare' time I can be found sewing, crafting, cooking, or working out! I like to make things that don't "look" homemade and love to find things in magazines and expensive stores to copy. If we're not at home or running errands, we can usually be found at the pool or beach. Thanks so much, Kelly, for having me today!
To celebrate my first guest posting gig, I'm doing an awesome giveaway on my blog today, so click on over and enter to win... www.babyjaynes.com

Here's how to make your own flannel board and stories! I've included the link so you can make the stories for the 5 Little Duck song and Easter story (plus a lot more).
 Making Your Flannel Board:
Supplies
Dry Erase Board
Cardboard Display Board
Flannel by the yard
Duck Tape
Glue Gun (Optional)
Since I wanted to be able to use this tool for preschool activities (songs, stories, letters, shapes, etc), and family night, I didn't just want a flannel board. So I decided to add a flannel board to a dry erase board. This is the front side. It's a dry erase board, and also magnetic so I can use cute magnets too. I got this dry erase board at Walmart for $16. They also have nice ones at Costco.
Front of the Board

Here's a view of the back of the dry erase board. It has a little medal lip and goes in about an inch. This is where my flannel board is going to go.
 Next take your Display Board, or a very large piece of cardboard (also available at Walmart or Target). I call this a science fair board cause that's the only thing I had used them for until this. Lay the board down on top of the dry erase board and cut off any excess. The size of my dry erase board fit perfectly if I just cut off the 2 side pieces that fold. It's also important to cut the cardboard the exact size of the board. You want it to fit really tightly and if you try to make it smaller it will be too small. The cardboard will give and fit in perfectly. You should check it now.
Once you have your cardboard, cover it with a nice flannel. I got white flannel cut by the yard. Lay the flannel down, lay the card board down on top of it, then fold back the excess to the back of the cardboard and secure with duct tape. I think it's kinda like wrapping a present but the entire back doesn't need to be covered. (SEE Picture Below)
I used duck tape and NOT a glue gun to secure my flannel because I wanted to be able to replace the flannel when it gets dirty or change colors. The duck tape secures it without making it permanent. Turn the board around and insert into the back of the dry erase board. It should fit snugly.
If you DON'T want to change it then use hot glue to glue the flannel to the board and then use hot glue to secure the cardboard to the dry erase board.
 Now insert your covered cardboard into the back of your dry erase board.
Here's a close up of the corner so you can see how the flannel board fits nicely into the dry erase board.
 And here's the final product!
 I love having it versatile so I can use magnets, flannel board, can write or even tape things to the other side. It's so perfect. And to answer some questions- yes the flannel board could fall out if I tip it over and shake it, but so far after having this for 4 1/2 years, my kids have yet to take out the flannel part or ruin it. And they LOVE playing with it!
Making Your Flannel Board Stories:
There are 2 main ways you can create your own flannel board story pieces.
One way is to get color images (I have links below) and print them out onto Iron-On transfer paper. I found it the cheapest at Walmart. This pack cost about $10 but I still haven't run out of it and I've done quite a lot.
 Then cut out your images and iron onto white flannel following the package instructions. Here's a sample image.
Front
 Back
Back
The other method of creating your own story pieces is printing the image out onto good quality card stock. Color the image if needed, then laminate the piece. Then attach a piece of felt to the back of the piece so it will stick to your board. Walmart carries individual sheets of flannel that have a sticky back. This worked great for these pieces. I just cut out a small square, peeled off the back and stuck to my piece.
Front of Paper Laminated Piece
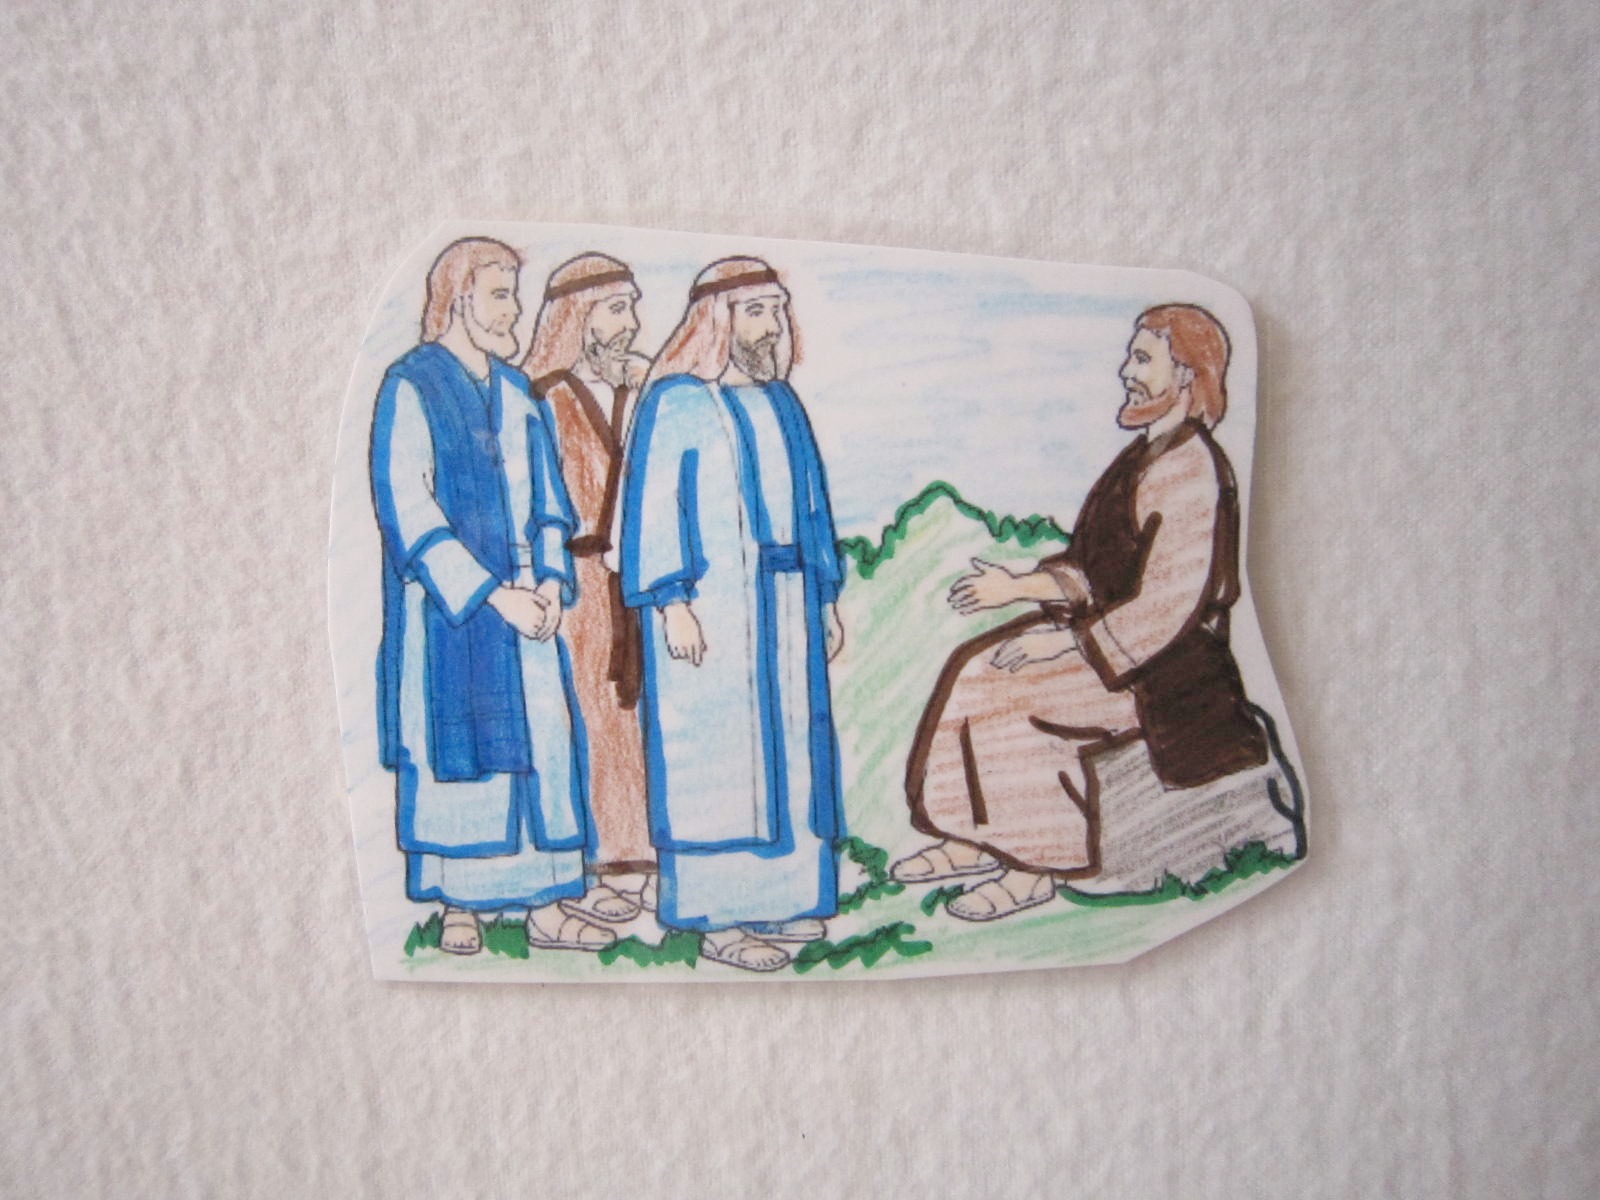 Back of Paper Laminated Piece
 To get you started, here are my favorite links to TONS of free flannel board stories!
Here's a great site for church felt stories including the Easter story. Some of these are in color and some are black and white.
This simple tool and stories has brought hour and hours of fun and teaching to our family! I hope you enjoy making and using yours!