Thank you Casey for taking the time to share such an awesome tutorial! Your daughter is way adorable too!
Howdy! I'm Casey from Casey Rose Photography. I'm so excited that Kelly has graciously given me a blog post here to discuss portrait photography tips. When Kelly asked me to write a post, I have to admit that I was very intimidated. While I used to teach high school English years ago and I do have a new photography business, I have never attempted to teach photography. So I hope you'll forgive me if my thoughts seem scattered with this post.
Assuming many of you are not using a DSLR camera, I thought I would start with some basic tips for creating better portraits using any good point-and-shoot camera. Then I'll move towards more specific tips that might be more useful if you have a DSLR camera.
LIGHTING
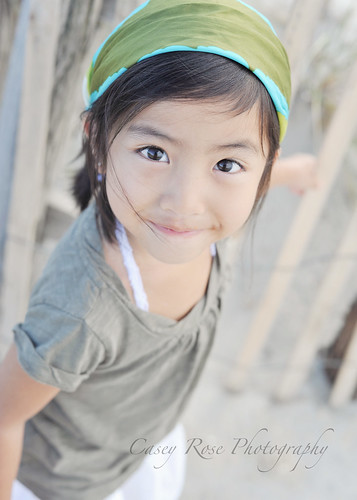
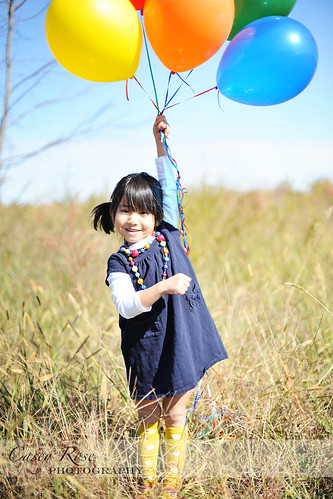
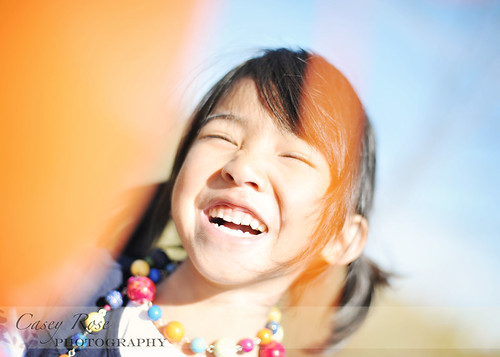
Personally I think using natural light creates the softest, most beautiful portraits. I particularly love taking pictures in the very early morning or an hour before sunset. Try to position the sun behind you so that the light reflects off of your subject's eyes. (Be careful not to shadow your subject) If you have to shoot inside and you do not have a camera that works well in low-light situations, try to open windows and doors in lieu of using the flash.
COLOR AND COMPOSITION
You want your portraits to be easy on the eyes.... by this I mean you don't want the viewer of the photograph to have to struggle with the decision of where to look. Great composition and color pinpoints exactly where the viewer should look.
Consider the colors of the environment around you. Consider the clothing on your subject. Consider eye color and hair color. Consider the mood you want to convey. Consider if the colors clash for a reason. Consider if the colors blend for effect.
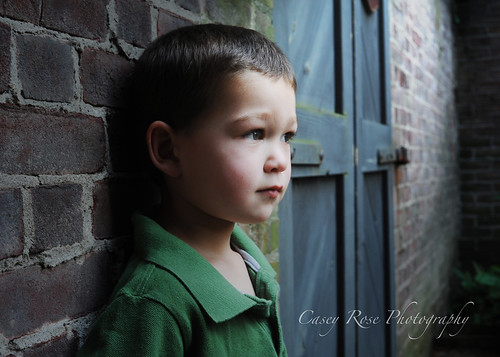
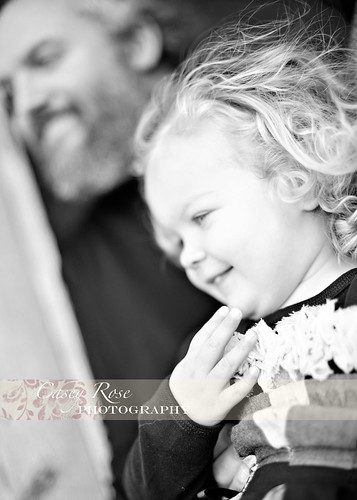
There are many rules of composition, but I think the rule of thirds might be a good place to start for beginning photographers. Consider your photograph broken in nine equal parts. You want your subject to be placed somewhere along these lines. Often it looks nice to place the subject in the off-centered two-thirds of the photograph. But - remember- rules are often meant to be broken, so go with your gut on placement of subject.
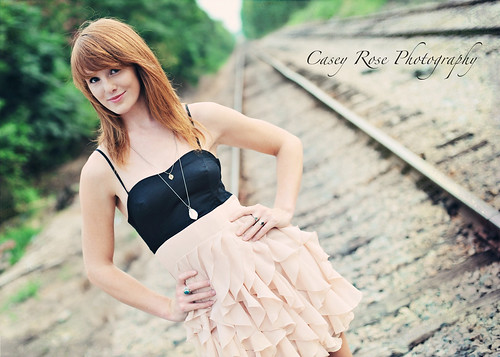
Leading lines - like railroad tracks, trees, or barn boards - help the viewer focus on the appropriate subject matter as well. Frame the photograph accordingly.
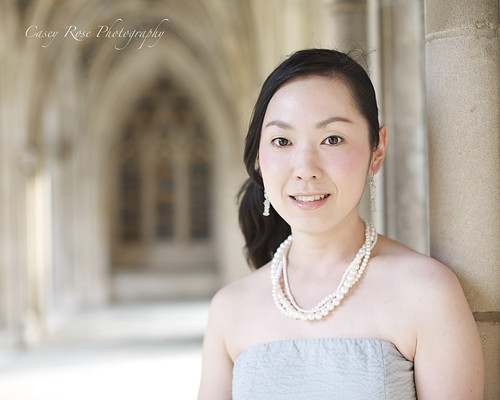
Also consider symmetry and pattern in the environment you are shooting. Do you see buildings that are similar? Windows that are symmetrical?
GET CLOSER
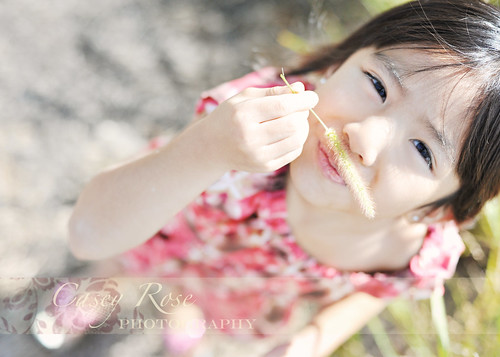
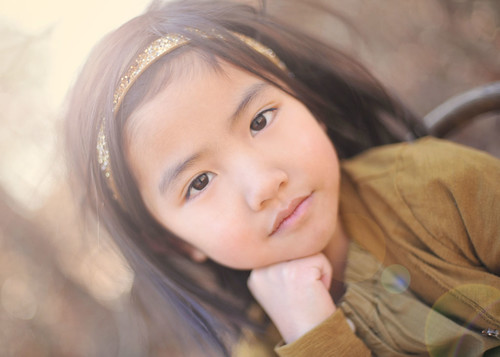
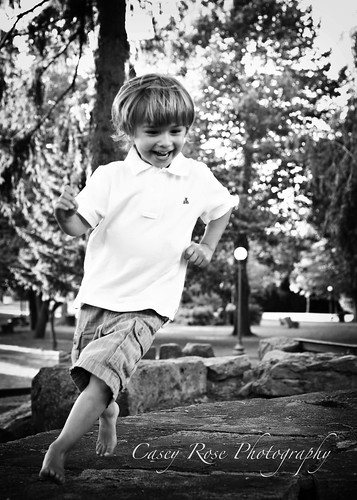
Often beginning photographers do not get close enough to his or her subjects. It is strange to place a camera right in someone's face; however, you'll get the best photos when you are RIGHT THERE. Also, you can pretend like you are fussing with your camera in order to let the subject relax before you shoot.
TALK
I'm a big talker. Often I keep the camera up to my eye, but keep having full conversations with my subjects. They aren't sure if I'm taking the picture. They begin to forget about the camera, so they tend to relax a bit more. Kids continue to play. I get the picture.
Also, I lie. lol. I tell folks that I'm fussing with my camera and they can relax. I pretend to fiddle. Couples begin to talk to each other. Families begin to watch others. I get the picture.
FOCUS
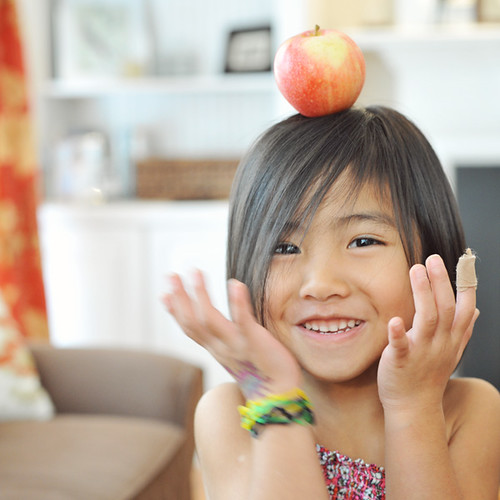
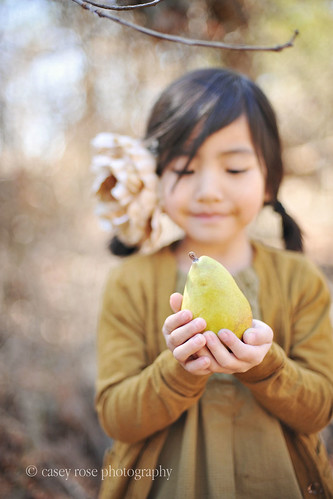
For those who have a DSLR camera - like a Nikon D40 or D90 - you can begin to play with focus and aperture. The best advice I can give you is to read the manual and to play with your camera. In the above photo, I placed the focus only on the pear and put the f-stop at 1.4. This blurs the background considerably to create a pure focus on the pear.
I hope some of these tips help you create the images you have in your mind's eye. Play, play, play with that camera. And then send some to Kelly!! I would love to see them!
And come visit me at my website and blog HERE!
Happy Clickin'
(all photos are copyright casey rose photography and may not be copied)


