


Putting a new spin on an old school project.
 I remember as a child having a silhouette hung on the wall that my kindergarten teacher had done of me. Back then you would sit in a chair with a projector casting your shadow on the wall. I know in my head that there was NO way that I could do this with my kids.. First I don't have a projector and second have you ever seen a 2 and 4 year old sit that still?
I loved how these turned out and I know that they will be a family heirloom. I decided to share how I made these with you. Feel free to modify this to your taste. I know that there is ton's of ways to do this but here is my rendition..
Supplies needed:
Camera
Black textured card stock
Scrapbook paper to your taste
3D foam stickers
Tape
Scissors

Take a side view picture of your subject. I took about 30 pictures of each child (really..) to get a good side profile photograph. It is better to do this with a white wall as the background. I changed the pictures to back and white and darkened them a bit. I did also flipped my daughters picture so they would be facing each other. It is not necessary I just wanted to do it this way. Just print the photo out to a 5X7 size on regular printer paper.

Here is the scrap book paper I picked out.


Trim around the edges of your photo but no to close. Tape the to the Black paper. Carefully trim around your edges. I had to redo my daughters but finally figured it out.

Here is what It should look like after you cut it out. I just trimmed the bottom kind of wavy, I was not sure how it would turn out but I was pleased with the end result.


Find your perfect frame trace and cut out your paper. I thought the oval gave it more of a vintage feel.
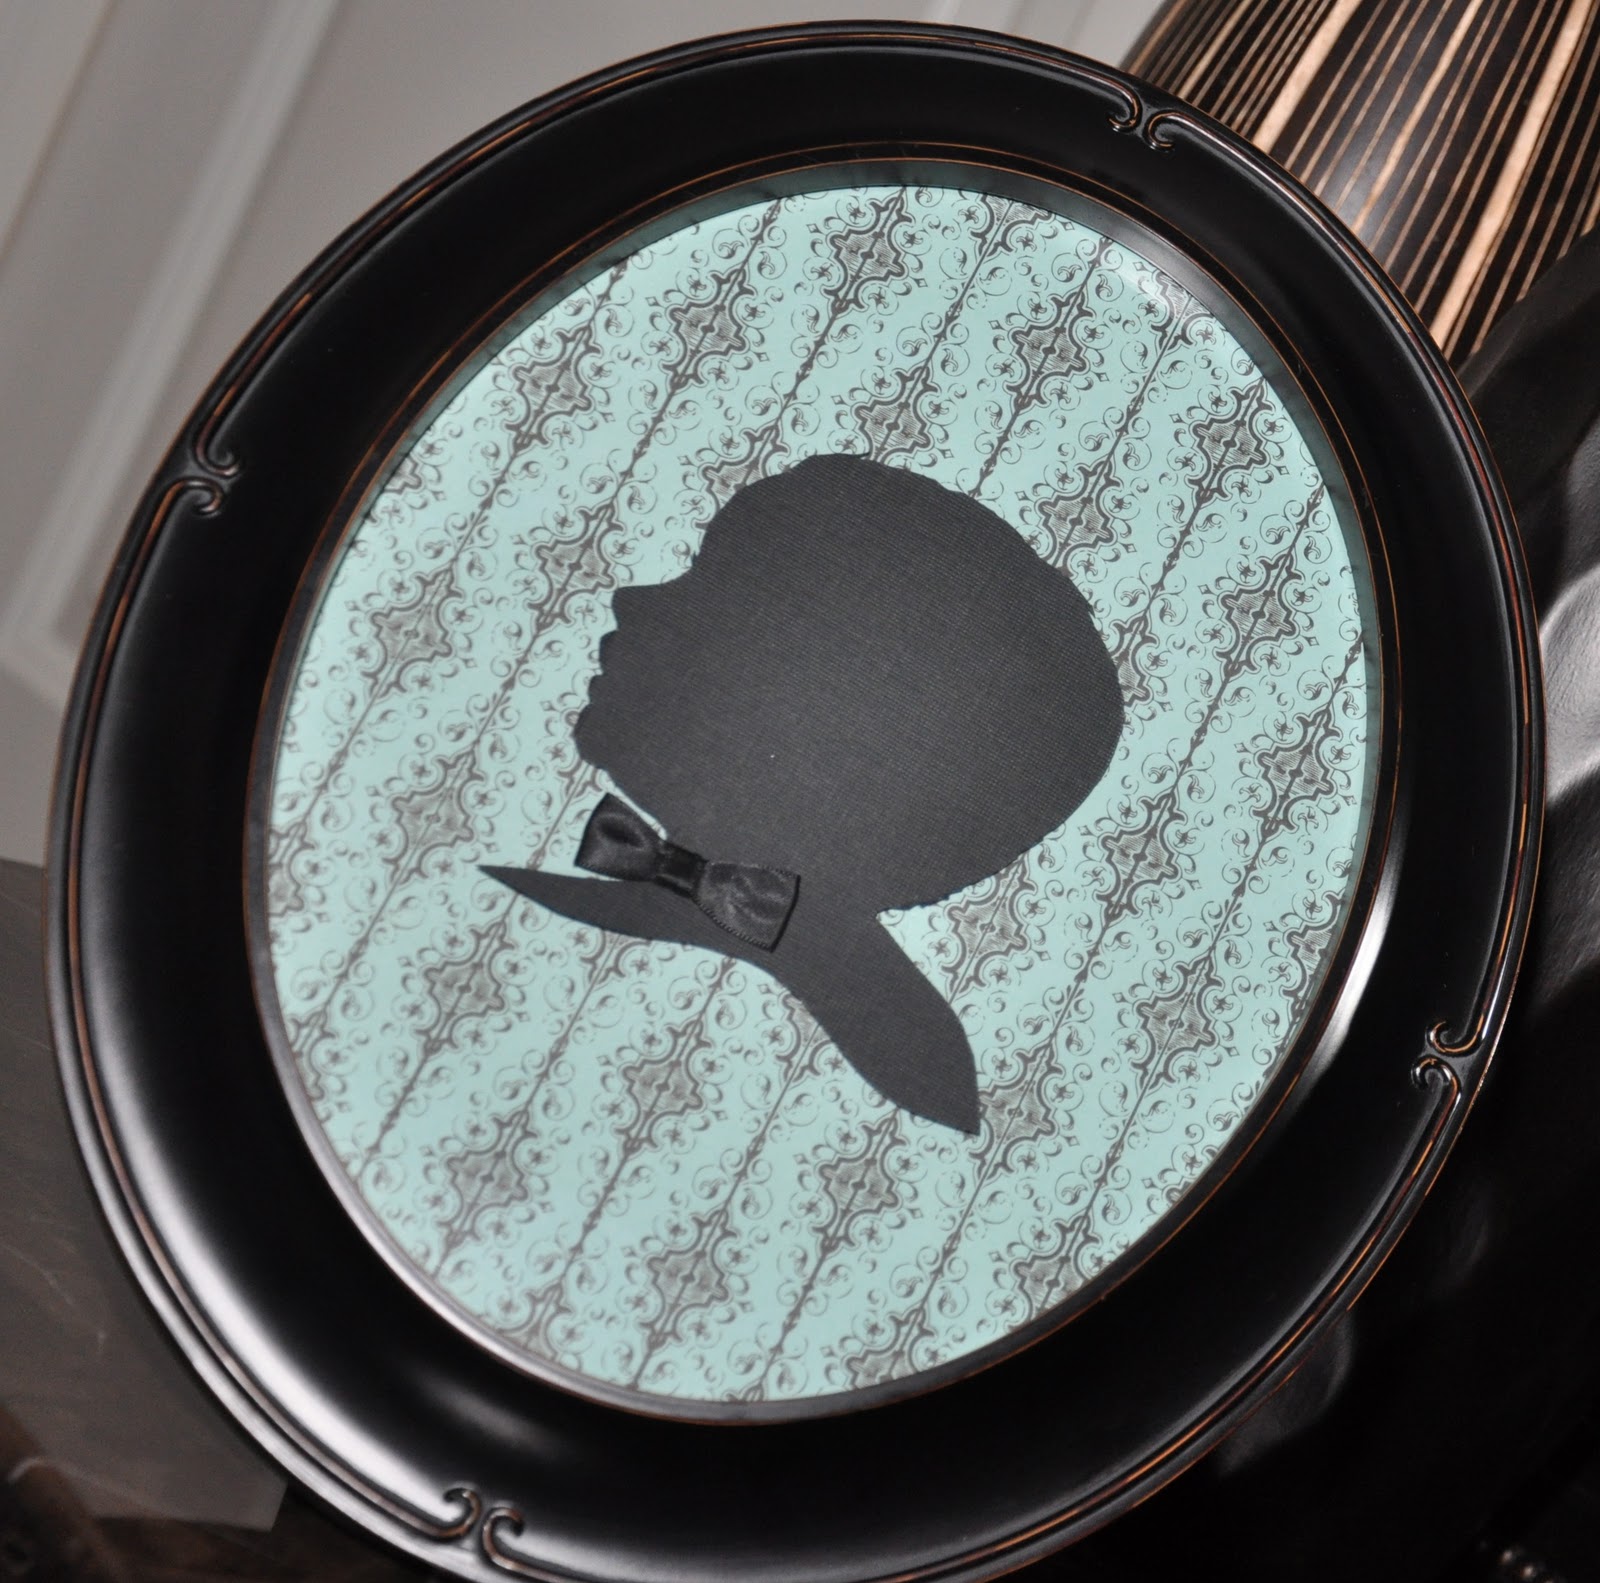

Don't forget to write the age and date on that back of your paper. Time flies!
I'm more than pleased with how these turned out. This is the first thing I have ever made that I would and will proudly hang on my wall. I'm loving this crafty side of me that is coming out.
I'm thinking of adding a silhouette of the dogs to the collection.. What do you think?
